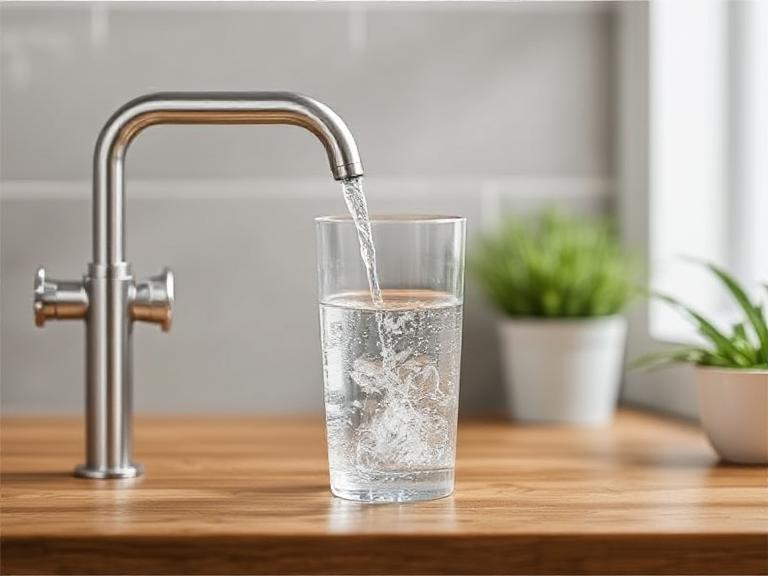
Access to clean, potable water is one of the most significant challenges facing millions of people worldwide. In both developing regions and modern homesteads seeking self-sufficiency, the ability to treat water effectively is a survival skill. One of the most reliable, low-cost, and sustainable methods for water purification is the ceramic pot filter. Learning how to make a ceramic water filter is not just a craft project; it is an engineering feat that combines geology, chemistry, and biology to save lives.
The principle behind a ceramic filter is simple yet profound. By mixing clay with a combustible material like sawdust or rice husks and firing it in a kiln, the combustible material burns away, leaving behind microscopic pores. These pores are small enough to trap bacteria and sediment while allowing water to pass through slowly. This guide will walk you through the detailed, scientific process of creating your own filtration system, ensuring you have the knowledge to produce a functional and safe device.
- 1. The Science: How Ceramic Filtration Works
- 2. Essential Materials and Tools
- 3. Step 1: Preparing the Clay Mixture
- 4. Step 2: Molding the Filter Pot
- 5. Step 3: The Critical Drying Phase
- 6. Step 4: Firing the Filter in a Kiln
- 7. Step 5: Flow Testing and Assembly
- 8. Industrial Scale: Moving Beyond DIY
- 9. Maintenance and Silver Application
- 10. Summary Comparison Table
- 11. Frequently Asked Questions (FAQs)
- 12. References
1. The Science: How Ceramic Filtration Works
Before you begin to make a ceramic water filter, it is crucial to understand the mechanism of action. The filter operates on three primary principles: mechanical trapping, adsorption, and bactericidal action.
First, mechanical trapping occurs due to the pore size. Ideally, the pores in the fired clay should be between 0.6 and 3.0 microns. Since most pathogenic bacteria (like E. coli and Salmonella) range from 0.5 to 2.0 microns, and protozoa are significantly larger, the tortuous path through the ceramic wall traps these contaminants physically. They simply cannot fit through the holes.
Second, the clay itself often has a slight electrical charge that can adsorb viruses onto the surface of the pores, though this is less reliable than mechanical filtration. Finally, many high-quality ceramic filters are treated with colloidal silver, a natural antimicrobial agent that disrupts the DNA of bacteria and prevents them from reproducing, adding a secondary layer of protection.
2. Essential Materials and Tools
To successfully make a ceramic water filter, you need precise materials. The quality of your ingredients directly impacts the filtration rate and effectiveness.
- Raw Clay: Ideally, earthenware clay that becomes porous when fired at low temperatures. It should be dried and ground into a fine powder.
- Combustible Material: Sawdust, rice husks, or coffee grounds. This material must be sifted to a uniform size (usually through a 30-mesh screen) to ensure consistent pore size.
- Water: To mix the clay and combustible material into a moldable plastic state.
- Colloidal Silver (Optional but Recommended): For coating the finished pot to kill bacteria.
- A Mold: A hydraulic press is used in professional settings, but for DIY, a plaster mold or hand-building technique works.
- A Kiln: Capable of reaching at least 850°C to 900°C (1562°F – 1652°F).
- Plastic Bucket and Spigot: To house the ceramic pot and collect the clean water.
3. Step 1: Preparing the Clay Mixture
The first step to make a ceramic water filter is preparing the “body” of the clay. This is not standard pottery clay; it is a composite material designed for porosity.
The Ratio
The standard ratio used by organizations like Potters for Peace is roughly 60:40 or 50:50 by volume (Clay to Sawdust). However, this varies based on the plasticity of your local clay. A higher percentage of sawdust creates more pores and a faster flow rate but weakens the structural integrity of the pot. A lower percentage makes a stronger pot but the water may filter too slowly.
Mixing
Dry mix the powdered clay and the sifted sawdust thoroughly before adding water. This ensures an even distribution of the burn-out material. If the sawdust clumps together, you will end up with large voids in the filter that allow bacteria to pass through. Once dry mixed, add water gradually until the clay is plastic and workable but not sticky. Knead the clay vigorously (wedging) to remove air bubbles.
4. Step 2: Molding the Filter Pot
Once your mixture is ready, you need to form it into the shape of a flower pot with a flat bottom and a wide rim. The shape is critical because the rim must suspend the pot inside a standard plastic bucket.
In a rural factory setting, a hydraulic press is used to stamp the clay into a mold. This applies tons of pressure, aligning the clay particles and ensuring a uniform wall thickness. For a DIY approach, you can use a plaster mold.
- Pressing: Place a ball of clay into the female mold and use a male mold to press it into shape.
- Hand Building: If you lack a press, you can use slab-building techniques, but you must measure the wall thickness carefully. The walls should be approximately 1.5 to 2.0 cm thick consistently. Uneven walls will lead to uneven drying and cracking.
After molding, smooth the surface. A smooth surface is easier to clean later when the filter eventually clogs with sediment.
5. Step 3: The Critical Drying Phase
You cannot rush this step. If you fire a wet pot, the water inside will turn to steam and explode the ceramic. Furthermore, because of the high sawdust content, the pot will shrink significantly as it dries.
Place the molded filter on a drying rack in a shaded area with good airflow. Do not place it in direct sunlight, as the outside will dry faster than the inside, causing warping or cracks. The drying process can take anywhere from 1 to 3 weeks depending on humidity. The pot should be “bone dry” and feel room temperature to the touch before it goes into the kiln.
6. Step 4: Firing the Filter in a Kiln
Firing transforms the fragile dried clay into durable ceramic and burns away the sawdust to create the filtration pores. This is the transformative moment when you truly make a ceramic water filter.
The Firing Schedule
The kiln must be heated slowly. Rapid heating can cause thermal shock. The target temperature is typically around 900°C. This temperature is high enough to harden the clay (sintering) but low enough to prevent it from vitrifying (turning into glass). If the clay vitrifies, the pores will seal up, and water will not pass through.
During the firing, the sawdust inside the clay walls will ignite and burn away. This leaves behind a complex network of open pores. Once the target temperature is reached, it should be held (soaked) for a period to ensure even heat distribution, then allowed to cool slowly.
7. Step 5: Flow Testing and Assembly
Before using the filter, it must be validated. Not every pot that comes out of the kiln is safe.
Flow Rate Test
Fill the pot with water and measure how fast it drips. A safe flow rate is generally between 1 to 3 liters per hour.
Too Fast: If it filters more than 3 liters per hour, the pores are likely too large or there is a crack. Bacteria might pass through. Discard the pot.
Too Slow: If it filters less than 1 liter per hour, it may be frustrating to use, though likely safe.
Assembly
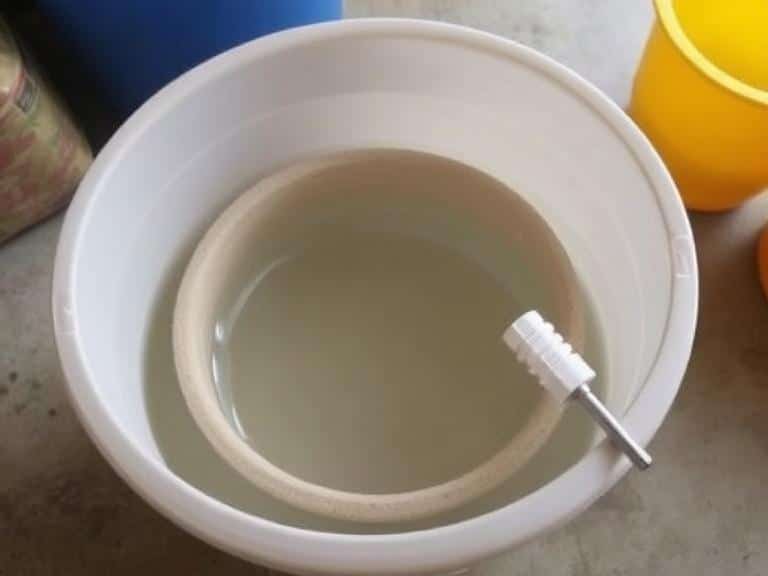
Place the ceramic pot inside a food-grade plastic bucket or a specialized receptacle. The rim of the pot should rest on the rim of the bucket. Install a spigot at the bottom of the bucket to access the clean water. Cover the top with a lid to prevent re-contamination.
8. Industrial Scale: Moving Beyond DIY
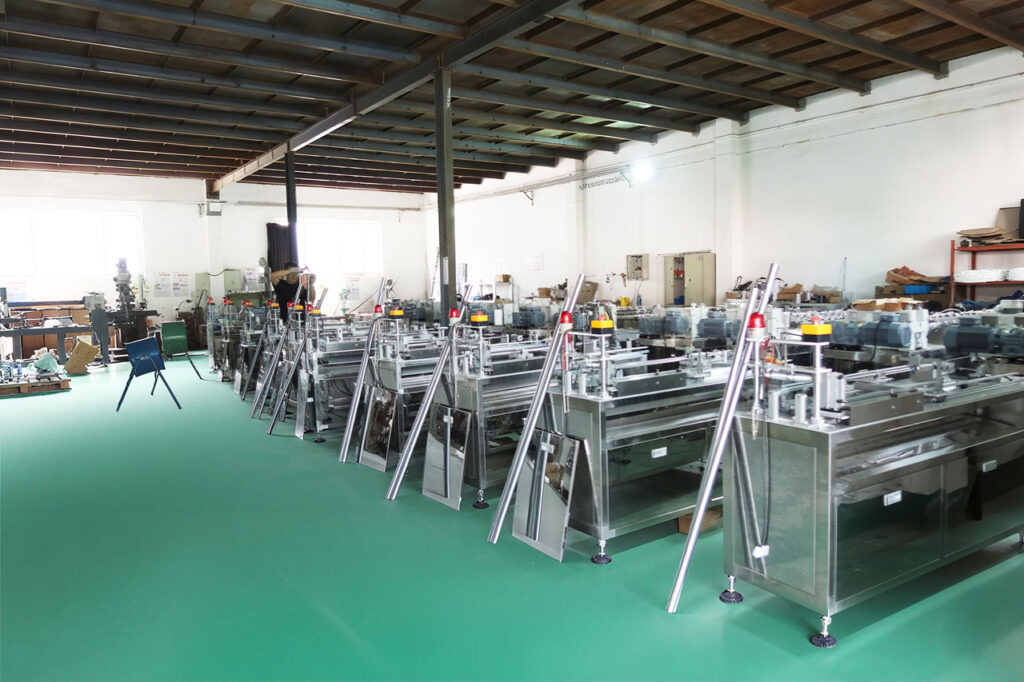
While learning to make a ceramic water filter by hand is invaluable for remote areas or emergency situations, industrial-scale water treatment relies on automated precision. For businesses looking to produce filters for mass markets, manual molding is inefficient.
This is where HENGTENG Machine steps in. As a leading manufacturer of filter cartridge machines, Hengteng Environmental Technology Co., Ltd. represents the pinnacle of filtration manufacturing.
Leading Manufacturer of Filter Cartridge Machines
HENGTENG provides high-quality machines for the efficient production of filter cartridges, trusted globally since 1989. With a focus on high efficiency, smart control, and ISO certification, they serve clients in over 60 countries.
Our Products:
- PP Filter Making Machine: For melt-blown sediment filters used in pre-filtration.
- CTO Carbon Block Filter Making Machine: Essential for removing chlorine and organic compounds, often used alongside ceramic filters.
- PP Yarn Winding Filter Making Machine: For industrial depth filtration.
With over 35 years of experience, HENGTENG offers complete production line solutions that far surpass what is possible in a DIY setting, ensuring consistent micron ratings and massive output capabilities.
9. Maintenance and Silver Application
To maximize the lifespan and safety of your ceramic filter, maintenance is required. Over time, the pores will clog with debris, slowing the flow rate. When this happens, the filter should be scrubbed gently with a soft brush and clean water. Do not use soap or chlorine, as these can damage the filter or leave residues.
Colloidal Silver
Many manufacturers apply a coating of colloidal silver to the fired pot. Silver is a bactericide. It can be applied by painting a solution onto the surface or dipping the pot. This acts as a failsafe; if a bacterium manages to navigate the pore structure, the contact with silver ions will neutralize it.
10. Summary Comparison Table
| Feature | DIY Ceramic Filter | Industrial Filter (e.g., PP/CTO) |
|---|---|---|
| Production Method | Hand or Press Molded & Kiln Fired | Automated Extrusion & Bonding |
| Pore Consistency | Variable (depends on sawdust) | Exact (controlled by machine) |
| Capacity | 1-3 Liters/Hour | High Flow Rates (Gallons/Minute) |
| Primary Removal | Bacteria, Sediment, Protozoa | Chemicals, Sediment, Chlorine |
| Cost to Produce | Low (Labor Intensive) | High Initial Investment (Low per unit) |
11. Frequently Asked Questions (FAQs)
12. References
- Potters for Peace. “Ceramic Water Filter Production Manual.” Accessed 2026.
- World Health Organization (WHO). “Household Water Treatment and Safe Storage.”