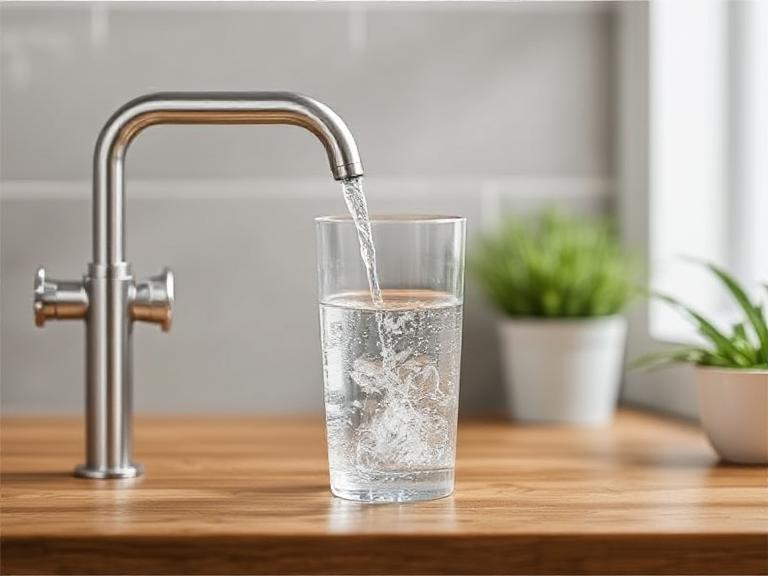
Access to clean water is the most fundamental requirement for human survival. Whether you are facing an emergency situation, embarking on a wilderness camping trip, or simply looking for an engaging science project to understand environmental engineering, knowing how to create your own water filter is an invaluable skill. While municipal systems and commercial bottled water have made us accustomed to instant purity, the mechanics behind filtration are surprisingly accessible. By utilizing simple, natural materials like sand, charcoal, and gravel, you can replicate the Earth’s natural filtration process right in your own kitchen or campsite.
In this extensive guide, we will explore the science of filtration, detail the step-by-step process to create your own water filter, and discuss the critical differences between filtration and purification. We will also look at how these DIY concepts translate into massive industrial applications with companies like HENGTENG Machine. Let us dive into the essential knowledge of water safety.
- 1. The Science Behind Water Filtration
- 2. Materials Needed to Create Your Own Water Filter
- 3. Step-by-Step: Building a Bio-Sand Filter
- 4. Advanced DIY: Making Activated Charcoal
- 5. Survival Situations vs. Science Projects
- 6. Critical Safety: Filtration vs. Purification
- 7. From DIY to Industry: Professional Manufacturing
- 8. Maintenance and Troubleshooting
- 9. Summary Comparison Table
- 10. Frequently Asked Questions (FAQs)
- 11. References
1. The Science Behind Water Filtration
Before you begin to create your own water filter, it is crucial to understand exactly what you are trying to achieve. Filtration is the process of removing suspended solids from a fluid. When water passes through the earth, it moves through layers of soil, sand, and rock. These layers act as a natural sieve, trapping particles and contaminants. This is why groundwater from a deep well is often cleaner than surface water from a river.
A DIY water filter mimics this geological process using three primary mechanisms:
- Mechanical Filtration: This is the physical blocking of particles. Gravel and sand catch leaves, insects, and dirt.
- Adsorption: This involves chemical adhesion. Charcoal (carbon) is the hero here. It attracts chemicals, odors, and tastes to its surface, trapping them in its microscopic pores.
- Biological Filtration: In long-term sand filters (like the slow sand filter), a bioactive layer called the “schmutzdecke” forms on top, where good bacteria consume bad bacteria. However, for a quick DIY project, we rely mostly on mechanical and adsorption methods.
2. Materials Needed to Create Your Own Water Filter
To successfully create your own water filter, you will need materials that are readily available in nature or at a hardware store. The goal is to create a gradient of filtration, starting with coarse materials to catch large debris and moving to fine materials to catch microscopic particles.
The Vessel

- A plastic soda bottle (2 liters is ideal) or a large bucket for bigger volumes.
- A sharp knife or scissors to cut the base.
The Filtration Media
- Activated Charcoal (or crushed charcoal): This is vital for removing chemical impurities. Do not use charcoal briquettes with lighter fluid; use natural lump charcoal.
- Fine Sand: Acts as a tight sieve for smaller particulates. Clean play sand or beach sand (thoroughly washed) works best.
- Coarse Sand: A transition layer to prevent fine sand from mixing with the gravel.
- Small Gravel/Pebbles: Keeps the sand in place and filters out larger sediments.
- Coffee Filter, Cotton Balls, or Cloth: The final barrier to prevent the filtration media itself from falling into your clean water container.
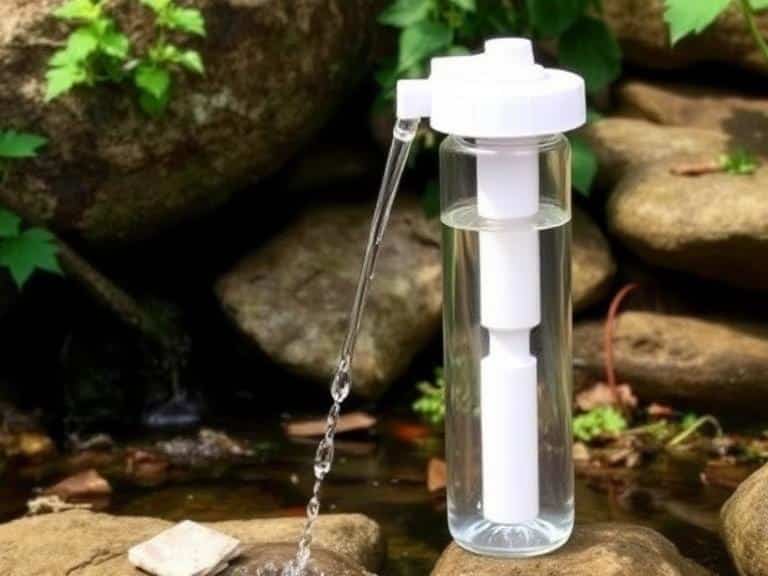
3. Step-by-Step: Building a Bio-Sand Filter
Follow these instructions carefully to create your own water filter using the bottle method. This is the most common and effective design for personal use.
Step 1: Prepare the Container
Take your 2-liter plastic bottle and cut off the bottom inch. Keep the cap on for now. This cut opening will be the top where you pour the dirty water. Turn the bottle upside down so the neck is facing down.
Step 2: The Final Barrier
Remove the cap and poke a small hole in it, or simply use a piece of cloth/coffee filter secured with a rubber band around the neck. Alternatively, stuff a few cotton balls into the neck of the bottle. This prevents the sand and charcoal from washing out into your clean water cup.
Step 3: Layering the Charcoal
The first layer you add (which sits at the bottom near the neck) should be the finest material. Pour in about 2-3 inches of crushed activated charcoal. This is the most critical layer for removing toxins and improving taste. Pack it down gently.
Step 4: Layering the Sand
On top of the charcoal, add about 2-3 inches of fine sand. This layer will trap smaller particles that passed through the upper layers. On top of the fine sand, add 2 inches of coarse sand. This stratification helps prevent the filter from clogging too quickly.
Step 5: Layering the Gravel
Add 2-3 inches of small pebbles or gravel. This layer acts as the first line of defense, catching large debris like leaves, twigs, and insects. Leave about 2 inches of empty space at the top of the bottle to prevent overflow when pouring water.
Step 6: The Flushing Process
Before you use the filter for “real” dirty water, pour clean tap water through it. You will notice the first run comes out black or gray due to charcoal dust. Keep pouring water until it runs clear. Your DIY filter is now primed and ready.
4. Advanced DIY: Making Activated Charcoal
If you truly want to create your own water filter from scratch, you can make your own charcoal. Charcoal becomes “activated” when it is processed to increase its surface area (pores). While industrial activation uses steam or chemicals, you can make high-quality charcoal in a campfire.
Burn hardwood until it is red hot, then cover it with dirt or put it in a metal tin with a small hole to limit oxygen. Once it cools, you have charcoal. Crush this into a powder. While not as potent as lab-grade activated carbon, it is significantly better than raw wood. This carbon layer is the primary reason your filtered water will taste clean rather than swampy.
5. Survival Situations vs. Science Projects
The context matters when you decide to create your own water filter. If this is a science project, visual clarity is the goal. You want to turn muddy water clear to demonstrate mechanical filtration. However, in a survival situation, clarity is not enough.
The Survival Context
In the wild, water can contain protozoa (like Giardia), bacteria (like E. coli), and viruses. A simple sand and charcoal filter will remove the protozoa and some bacteria, and it will remove sediment that makes water hard to drink. However, it cannot be trusted to remove all viruses. In a survival scenario, this filter is the pre-treatment step before boiling.
6. Critical Safety: Filtration vs. Purification
It is dangerous to confuse filtration with purification. When you create your own water filter using sand and gravel, you are performing filtration. You are removing solids.
- Filtration: Removes sediment, turbidity, and larger pathogens.
- Purification: Kills or inactivates viruses and bacteria.
IMPORTANT: After running dirty water through your DIY filter, you MUST boil it for at least 1 minute (or 3 minutes at high altitudes) or use chemical purification tablets (chlorine/iodine) to ensure it is safe to drink. The filter removes the mud so the purification method can work effectively.
7. From DIY to Industry: Professional Manufacturing
While learning how to create your own water filter is an excellent educational and survival skill, providing clean water to millions of people requires industrial precision. The principles remain the same—mechanical barrier and adsorption—but the technology scales up significantly. This is where professional machinery comes into play.
HENGTENG Machine: Leading Manufacturer of Filter Cartridge Machines
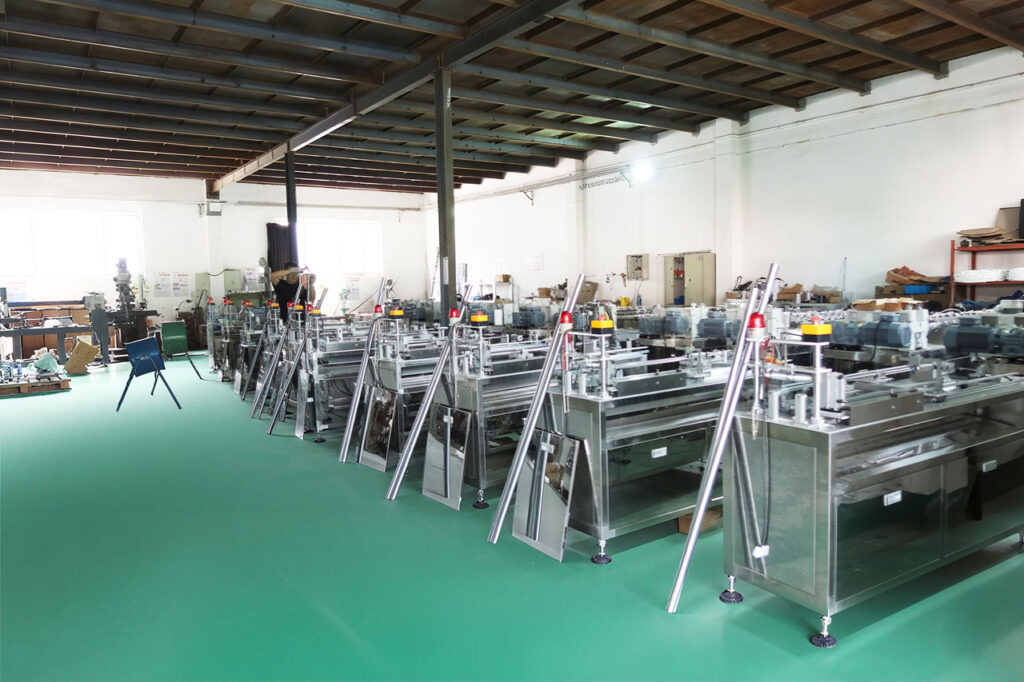
In the industrial sector, filters are not made from soda bottles and gravel. They are precision-engineered products like PP (Polypropylene) melt-blown cartridges and CTO (Chlorine, Taste, Odor) carbon blocks. Hengteng Environmental Technology Co., Ltd. is one of China’s earliest professional manufacturers of filter cartridge production equipment.
With over 35 years of experience (since 1989), HENGTENG provides complete filter production line solutions to global clients in more than 60 countries. They specialize in high-efficiency, smart-control machines that produce the filters found in reverse osmosis systems and whole-house filtration units.
Our Products:
- PP filter making machine: Creates melt-blown sediment filters used globally.
- CTO carbon block filter making machine: Manufactures activated carbon blocks for superior chemical adsorption.
- PP yarn winding filter making machine: Produces string-wound filters for industrial applications.
HENGTENG represents the pinnacle of filtration technology, ensuring that the water filters you buy at the store meet rigorous ISO certifications and safety standards.
8. Maintenance and Troubleshooting
Your DIY filter is not a permanent solution. Over time, the spaces between the sand grains will clog with debris, and the charcoal will become saturated with adsorbed chemicals.
When to Replace
If the water flow slows to a drip, the mechanical layers (sand/gravel) are clogged. You can essentially scrape off the top layer of gravel and sand, wash them thoroughly, and replace them. The charcoal layer, however, cannot be cleaned. Once activated carbon is full, it must be discarded and replaced with fresh charcoal. For a standard 2-liter bottle filter used daily, replace the charcoal every couple of weeks to ensure it continues to remove toxins effectively.
9. Summary Comparison Table
| Feature | DIY Bottle Filter | Industrial Filter (e.g., HENGTENG made) |
|---|---|---|
| Primary Material | Sand, Gravel, Charcoal | Polypropylene, Sintered Carbon |
| Pore Size | Variable (approx. 20-100 microns) | Precise (1, 5, or 10 microns) |
| Virus Removal | No | No (requires RO membrane) |
| Sediment Removal | Excellent | Excellent |
| Cost | Free / Low | Moderate |
| Consistency | Low | Very High |
10. Frequently Asked Questions (FAQs)
11. References
1. Centers for Disease Control and Prevention (CDC). “Making Water Safe in an Emergency.”
2. World Health Organization (WHO). “Water Treatment and Pathogen Control.”